
The big question I want you pondering as you do your reading this week: What makes a good ruler? **This will be a big topic during class. Please come prepared to discuss what made each of the kings/queens from the reading GREAT and not-so-great. What can we learn from them?
Read the following in Story of the World, take notes, make them pretty and be prepared for QQUuuiizzzZZ TttIImmmeeeE!
- Ch 11: The Kingdom of the Franks
- Ch 13: The Great Kings of France
- Ch 15: The First Kings of England
- Ch 28: The Kingdoms of Spain and Portugal
- Ch 38: England’s Greatest Queen
AFTER you have finished your reading choose a medieval ruler and evaluate whether he or she deserves the title “Great.” Write 4-6 sentences about why or why not in your commonplace book. Random people will be asked to read their assignment out loud to share their thoughts with the class 🙂
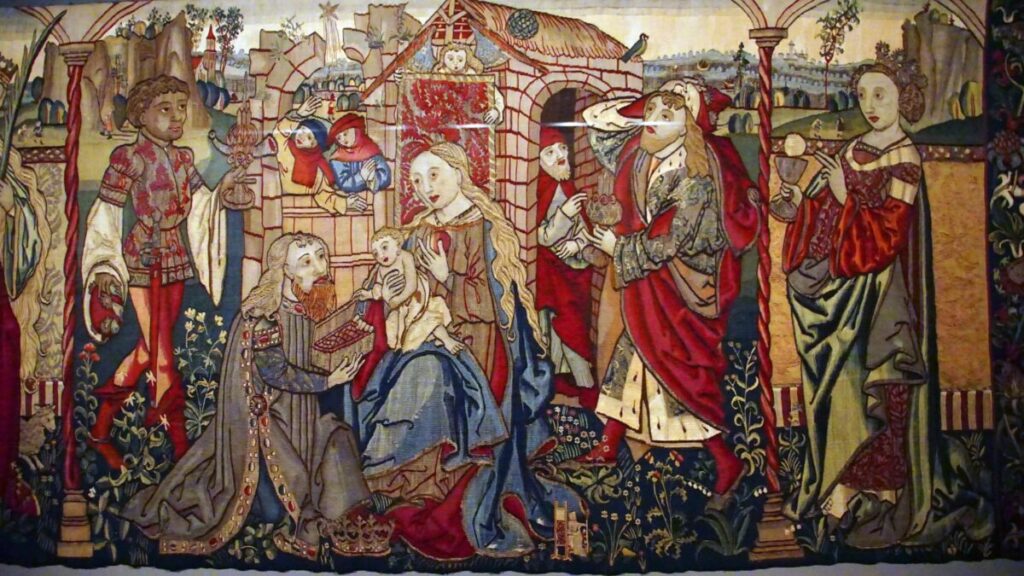
Add the following dates to your timeline:
481 AD. Clovis becomes King of the Franks
800 AD. Charlemagne crowned Emperor by Pope Leo III
1066 AD. William the Conqueror wins the Battle of Hastings and becomes King of England
1469 AD Ferdinand and Isabella marry, laying the foundation for a united SpainCharlemagne crowned Emperor by Pope Leo III
1492 AD Columbus sails to the Americas
1558 AD Elizabeth I becomes Queen of England
We’re going to be doing two creative projects this month. First you will create a coat of arms.
First watch THIS VIDEO to learn a little more about what they are and their history and symbolism.
Next, you will create your own coat of arms. I want this to be something you can keep in your commonplace book (because I’m assuming that you will keep that forever and share it with your kids someday). So make it on cardstock, out of felt, watercolor — whatever medium you want, but make it to a size that you can cut out and put in your commonplace book to explain the symbolism.
So you get to choose colors, style and symbols that you feel would represent your FAMILY or YOURSELF as an individual (you choose). Layer meaning into all the aspects of your coat of arms! Do this in a medieval style, make it look historically accurate (so that means probably no pink and probably no butterflies or smiley faces … you get the idea).
To make it accurate according to our video you will need to:
Choose a shield shape
Design a helmet of some sort for the top of the shield
Add supporters to each side of the shield (the humans or animals standing on each side)
Add a mantle behind the shield (the decorative motifs behind the shield)
A crest to sit on top of the helmet
If wanted, a scroll at the bottom with your name or family name
(pause the video starting at roughly 1:24 to see them show each element as it is added to the crest)
Your final project should be a coat of arms full of symbolism that you can explain, that represents your family and should look like an authentic medieval coat of arms. You do not have to be an artist to pull this off, you’ve got this! Be prepared to share it in class.
Write up your symbolism in your commonplace book where you will be gluing in your coat of arms.
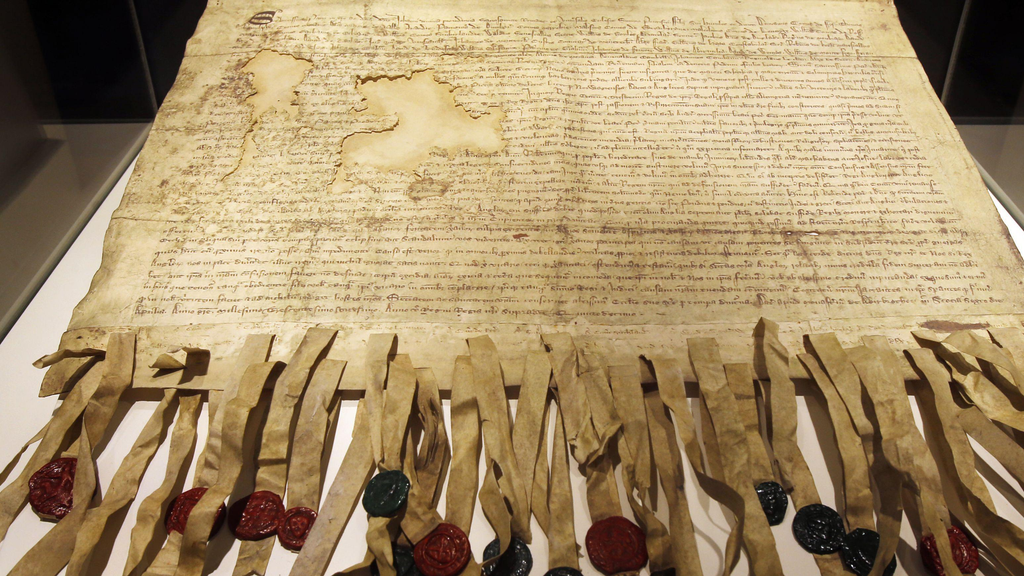
NEXT we are ALSO making a royal seal! This image is of the Declaration of Arboath, a 14th-century Latin letter written on April 6, 1320, by Scottish earls and barons to Pope John XXII. It is widely considered Scotland’s most important historical document and serves as the country’s declaration of independence. Notice how wax seals were attached with fabric strips to the vellum (animal skin “paper”) so that all the important people could “sign” the document! I had no idea that wax seals were used in this manner! Very cool.
First, watch THIS VIDEO to learn a little about wax seals.
You may have played with wax seals in the past but this time you will be designing your OWN wax seal. What shape or design would you want to seal your important letters? For this assignment you do NOT need to make it look medieval. If you would seal an envelope with a hammer or a butterfly shape then go for it! Authenticity not required, but it should be personal to you.
Here is a crafty blog post with instructions for you to follow for making your wax seal.
You will receive wax + sculpey delivered to you, by me for this project (delivery by Saturday probably).
Make your wax seal at home, press it into your commonplace book and write about why you created that symbol to represent yourself.
AND BRING YOUR SEAL TO CLASS. We will be doing an in-class project and pressing the seals at Vanguard as well.
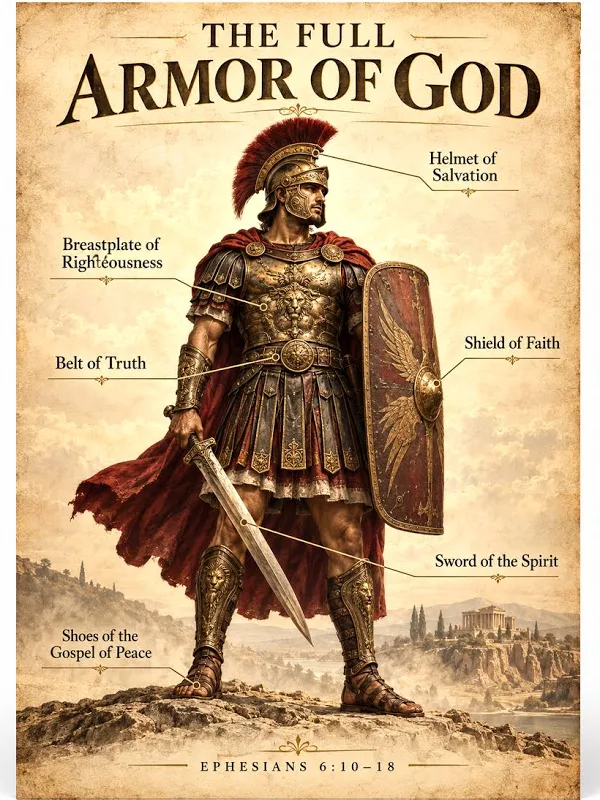
FINALLY, it’s time to dig deep on the armor of God. This month we are focusing on the Breastplate of Righteousness. This piece of armor protects your heart.
For our yearlong project you should have a clear vision of what piece of armor YOU will be creating, what materials you need etc. This week you need to fully sketch out your vision including all the nitty gritty details of all the symbolism. This part should take a lot of time and thought! We don’t want to just jump into this project and figure it out as we go. In order for it to be very intentional you need to put some thought into questions like:
How will wearing or looking at this piece of armor help me remember the scripture truths that I want written on my heart?
I would love to hear in class if you have had an experience where your scripture(s) came to mind and you were able to use it as a shield and protection! Please, please, share these experiences! Maybe I’ll have Melody come down from juniors and share with the class how she has been helped by the scriptures she chose because she’s had a cool experience 🙂
Sketch out your final vision, be prepared to share it, write out all the details (colors, materials, etc) that point to your scripture truths. I can’t wait to see!
